Monday, 30 November 2009

Group Task

Group Task
From Capture to Print

For our task we had to use the skills and knowledge we had learnt from our lectures and workshops. We had to think about the light, exposure, process and treatment of the subjects we photograph.

We had to work in a group of three to produce a photograph using the skills, knowledge and resources at our disposal. We had from 10 am till 4 pm to complete our task.

The Task
In our group we had to produce a photographthat was influenced by one of the following film titles:
  • Breakfast at Tiffany's
  • The Fountain
  • Into the Wild
  • Dead Man's Shoes
  • Dog Day Afternoon
  • A Clockwork Orange
  • Sunset Boulevard
  • Three Colours Red
  • Stand by Me
  • The Thin Red Line
  • Rear Window

Here is our final image:

Wednesday, 25 November 2009

Weekly Projects

English Breakfast For our second weekly project we had to represent the word english breakfast with out image. When I first think of an english breakfast I see a big greasy fry up, but I didnt wantto take a typical picture like that. So I decided to show english breakfast as breakfast in bed as everybody loves to relax in bed. I have made the breakfast the main focal and not show the person so that it can be anyone and show that anyone can have there breakfast in bed not just this person.


Time

For our first weekly project we were given the word time and had to represent this word through our image. For my image I took a picture of my mum and grandma to represent different generations. I have put them in matching dressing gowns to show a connection between them as mother nad daughter. Ive blurred my grandma to make it appear as if she isnt there and my mum is looking back over time.

Tuesday, 17 November 2009

Indiviual Task

For our Individual Task we first of all had to set our cameras to the following settings:
  • Manual Focus

  • Manual Exposure

  • ISO 400
  • RAW File Format

I then had to go and take an object lit by the following light sources:

  • Window
  • Strobe

  • Fluorescent

I then had to import my files from my memory card into Adobe Lightroom, here are screen shots of how I did this:


Here is how I used the 5star rating for my work:


We then had to try and export our images into photoshop, here is the screen shots:


Here is my final image:

Available Light Source

For this light source we went in the dark room and put on the red light shich has made the model red and black. I think that this picture is very bold because of the colours used.

(Settings - 1/800, F6.7, ISO 400, White Balance Manual)


Here the light souce was a over head projector. Because the lighting is abve the model and not very bright she has had to lift her face upwards.By doing this it has caused a shadow below her face.

(Settings - 1/300, F6.7, ISO 400, White Balance Manual)


For this available light i used computer lighting which is colourful making the models face brightly coloured. The lighting isn't bright enough to light the whole of the models face making this image very dark
(Setting - 0.7 sec, F6.7, ISO400, White Balance Manual)


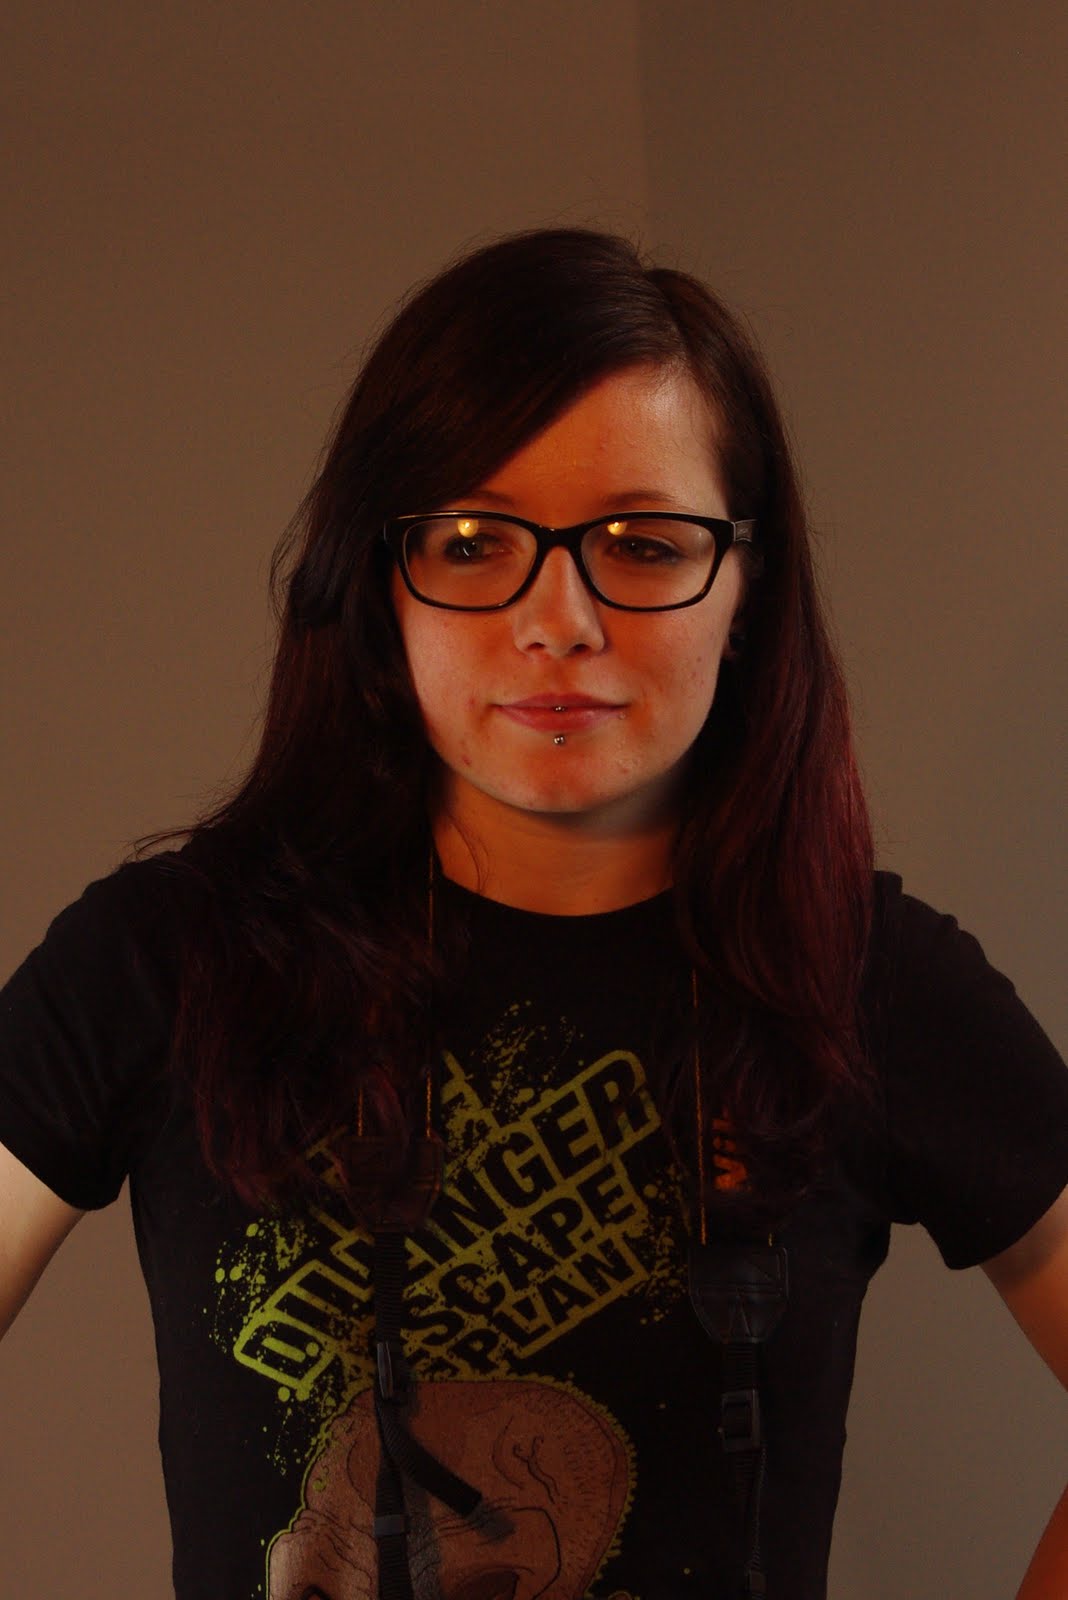
The light source in this image is ambient and the lighting is coming from above the model. This type of lighting makes the model a yellow colour which is very unnatural.

(Settings - 1/125, F5.6, ISO 400, White Balance Manual)


This image has natural lighting from behind the model, I think that this composition makes the models feature natural and clear to see.
(Settings - 1/125, F5.6, ISO 400, White Balance Manual)


The available lighting in this image is coming from a sign light which has a flurescent light behind the sign. Here the lighting is coming from above the model which has outlined the models face.

(Setting - 1/125, F5.6, ISO 400, White Balance Manual)


For this image the model was stood in a lift, with the lighting coming from above. The lighting was a dull flourescent light that has made it difficult the see the models features.
(Settings - 1/125, F5.6, ISO 400, White Balance Manual)


The natural lighting came from the models left hand side through a window. This has made the right hand side of her face very hard to see causing a contrast with each side of her face.

(Settings - 1/125, F5.6, ISO 400, White Balance Manual)


Here we used a flurescent lighting just to the left of the model which has made the models face dark in some areas and very bright in others making a contrast.
(Settings - 1/125, F5.6, ISO 400, White Balance Manual)


Here there is a soft box lighting coming from the right of the model and natural lighting is coming from the left of the model. The soft box lighting gives a warm feel to the models right side of the models face and the natural light is more cold.
(Settings - 1/125, F5.6, ISO100,White Balance Manual)

Fruit Studio Photography

Studio Photography

Using a piece of fruit, employ the following lighting techniques; 45*/45*, High Key, Low Key, Backlight and Top Light.


45 Degree - The key lighting is placed 45degees from the subject and slightly higher.


High Key - Is lighting between white and grey tones, with very few dark grey and black tones.


Low Key - Is were the subject is surrounded by shadows and in which there is very little highlights


Backlight - The light source is placed behind the subject to create a highlight to seperate it from the background.


Top Light - Light shining directly above the subject casting shadows.


Top Light


The top light cast a dark shadow behind the fruit and shows all the colour at the front and top of the Pineapple.


(Settings - 1/300, F 6.7, ISO 100, Auto White Balance)


Low Key


This lighting is dark emphsising the dark outline around the fruit which makes the colours dark on the pineapple.


(Settings - 1/600, F6.7, ISO 100, Auto White Balance)


High Key


The high key lighting real brings out the colour on the kiwi and also shows the textures clearly. The high key lighting is coming from the right of the fruit casting a slight shadow on the left.


(Settings - 1/180, F5.6, ISO 200, White Balance - Daylight)


45/45 Degree


This 45 dregree lighting at either side of the pine apple cast and equal lighting over the fruit shows the bright colours and textures.


(Settings - 1/200, F6.7, ISO 100, Auto White Balance)


Back Light


This back light technique makes the fruit dark and like a silouhette. It also gives it a long shadow in fruit of the fruit and it makes the edges of the fruit very define.

(Settings - F/4.5, 1/400, ISO 400, White Balance Auto)

Wednesday, 11 November 2009

Glass Lighting

For this task we had to go into the studio and Andy set up dofferent lighting sets to test the different effects the lighting has on the glass bottle. We had to set our cameras to Aperture priority auto exposure with 400 ISO and also had Manual Focus on.


Set 1
For this set the soft box Lighting came from the left side of the bottle causing a shadow.

(Settings - 1/250, F5.6, Iso 400, White Balance - Daylight)


Set 2
This set the sofe box light was placed behind the white background. This lighting techniques makes the bottle dark and shadowy.
(Settings - 1/750, F5.6, Iso 400, White Balance - Daylight)


Set 3
In this set the soft box was behind the bottle, and another soft box lighting was added below the bottle. By doing this it took away the shadows that were in set 2.
(Settings - 1/4000, F5.6, Iso 400, White Balance - Daylight)


Set 4
For this compositionI took a wide angle shot to show the lighting below the bottle. I particularly like the shadow cast.
(Settings - 1/2000, F5.6, Iso 400, White Balance - Daylight)


Set 4
In this composition the lighting was coming from below the bottle with a reflector above casting shadows around the edges of the bottle and also on the background.
(Settings - 1/3000, F5.6, ISO 400,White Balance - Daylight)


Set5
For this set the lighting was careful aimed from above at the writing on the lid of the bottle so that the name of the bottle could be read.
(settings - 1/2000, F5.6,ISO 400, White Balance - Daylight)


Set 6
In this composition the lighting was placed at either side of the bottle casting fate shadaow and a slight reflection on the surface.
(Settings - 1/2000, F 5.6, ISO 400, White Balance - Daylight)


Set 7

For this composition the lighting was placed underneath the bottle with black card at either side. This image shows how the lid of the bottle is very dark and not well lite.
(Settings - 1/4000, F5.6, ISO 400, White Balance - Daylight)


Set 8
Again the soft box lighting is placed below the bottle withthe black card again, but this time a reflector was used to reflect the light onto the lid of the bottle making it shine.
(Settings - 1/3000, F5.6, ISO 400, White Balance - Daylight)

Tuesday, 10 November 2009

Magic Hour

Magic Hour

Magic hour is the first and last hour of sunlight during the day, the lighting is softer and warmer, making the shadows longer. We were giving a task of capturing a successful magic hour image. My teachers have given us some examples :

Richard Peregrine's Magic Hour


Here is my First Attempt of Magic Hour:

(Setting-F/4.5, 1/800, ISO 400, Auto White Balance)


Here are more of my magic hour images:

(Settings - F/8, 1/250, ISO 400, Auto White Balance)


(Settings - F/8, 1/259, ISO 400, Auto White Balance)

Monday, 9 November 2009

Photography Research


Yousuf Karsh
Karsh is famously now for the people he takes portraits of, they were the faces of the 20th century.'Within every man and women a secret is hidden, and as a photographer it is my task to reveal it if i can'.


Brassai
Brassai's well know for his longlife photographic exploration of paris and its poeple, places and things. His images stand out because of the use of lighting and mistiness of rain nights.


Edward Weston
In 1906 Edward Weston began his career as a photography. Westons pictures include the human body as well as other natural objects. This includes seaside wildlife, plants and landscape, he maily photographed nudes and still life.


Tina Modotti
Tina Modotti began her career as a silent movie actress and then became Edward Westsons favorite model. Edward Westo then taught Modotti photography and she moved to
mexico were she turned her camera to record mexicos most vibrant years.


Karl Blossfeldt
He photographed plants by the thousands, rangeing from flowers to seed clusters. He usually placed his subjects in front of white or grey cardboard. He also used to shape the objects by carving into the plants to add texture and shape.